Before I get into all the things you need to know about clock labels for your classroom, imagine this… As you read aloud a non-fiction science text during your text features unit, you are projecting the book using a document camera. You encourage students to raise their hand to share when they see a text feature that they have learned about. You model what that looks like using the cover of the text. As you progress through the text, you give plenty of wait time but see no hands. All of a sudden, you see a hand! In your head, you are thinking, “Please say diagram. Please say diagram.” Instead, your student asks, “What time is it?” Ugh! Does this sound familiar? This is one of many reasons why telling time helpers around your clock are so essential.
Having clock labels in your classroom not only prevents students from interrupting learning time to ask what time it is, but also serves as a math tool that supports students who struggle with telling time or calculating elapsed time. Most clocks are digital now, so most students will not enter your classroom with a ton of prior knowledge about how to use analog clocks. Their experience with time is typically limited to digital clocks. Read below to learn all about using clock labels for the classroom!
What are Clock Labels?
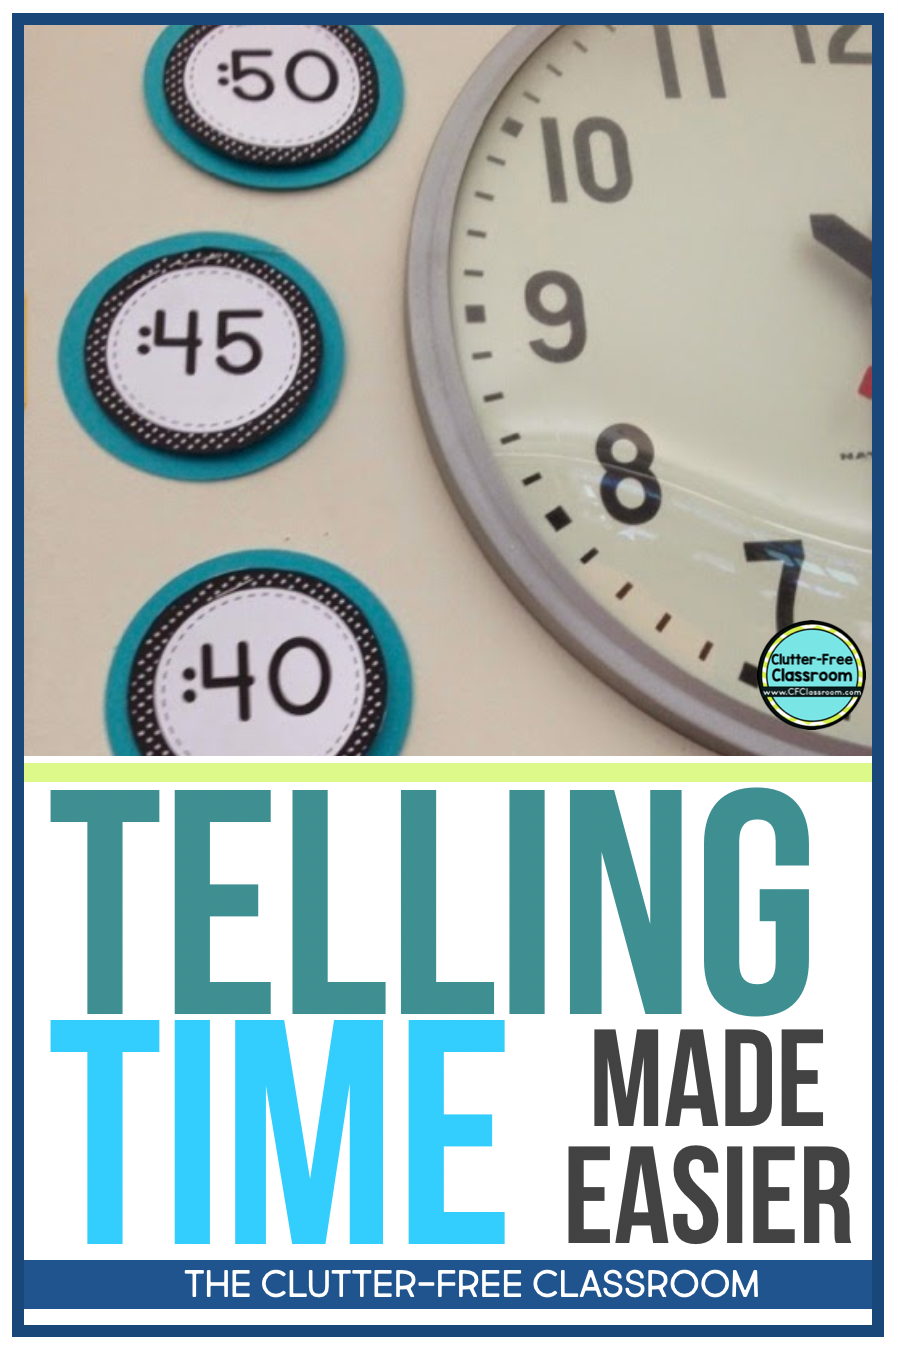
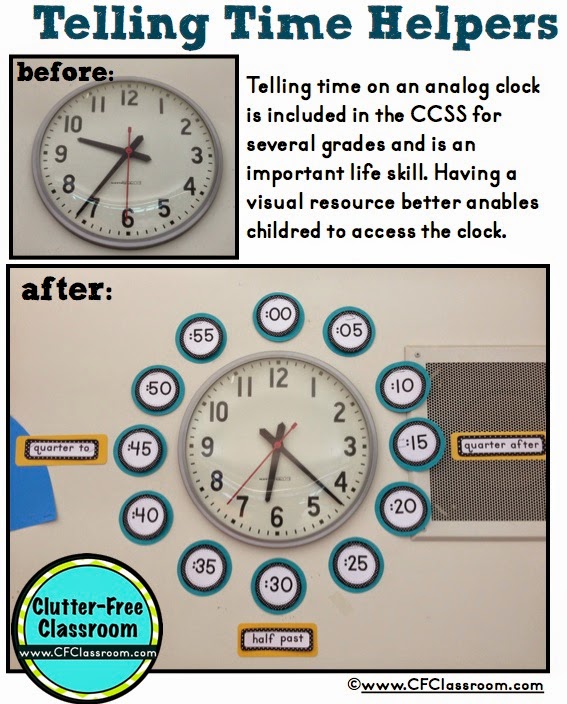
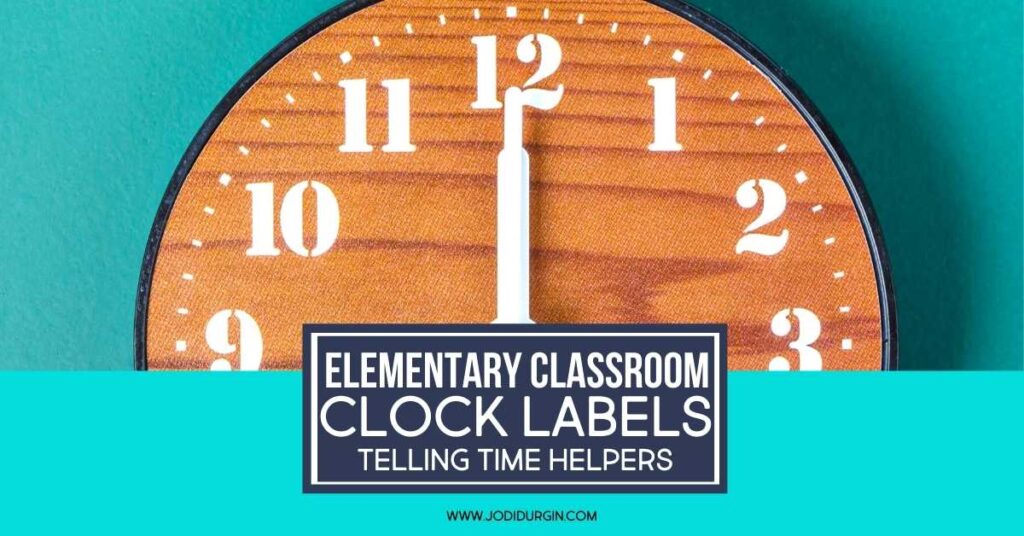
Clock labels, also known as telling time helpers, are a tool that you put around the analog clock in your classroom. Elementary teachers use them to support student learning and help create a numeracy-rich environment.
Why Do Teachers Need Clock Labels?
Some of the reasons why clock labels are an essential tool for every elementary classroom are listed below. Clock labels…
- empower students to become more independent learners. For example, if you use a bathroom sign-out routine for students as one of your classroom management strategies, students will practice telling time using this tool regularly and independently.
- serve as a reference tool for students as they continue to practice telling time.
- can be used as an instructional tool to teach students how to tell time. Better yet, you can differentiate it based on your grade level and students’ needs by putting up as many pieces as you feel are appropriate.
- provide a visual for students who are visual learners.
- offer students an additional way to learn how to tell time.
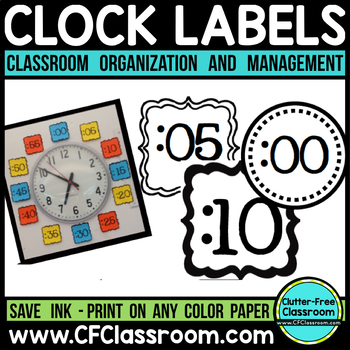
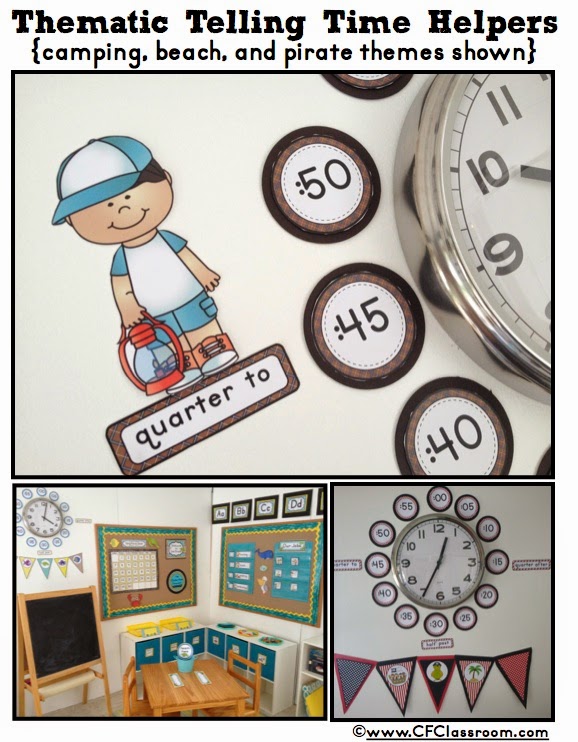
- are compatible with any classroom decor because you can print on any color or patterned paper you choose to match your room.
- reduce interruptions during class time.
- are versatile in that they can be used as a whole group lesson, small group center, or craftivity by having them make their own clocks.
How to Implement Clock Labels in Your Classroom
This classroom clock labels resource is a tool to help students learn time. It is a set of numbers (e.g. :00, :05, :10). They were created to be placed around the classroom clock. Another way they can be used it to have students put them around a paper plate or piece of round construction paper to create a clock. This option is great if you want each student to have his or her own clock. Learn how to implement these clock labels below!
1. Download the Printable Clock Labels
Download these printable clock labels from the Clutter-Free Classroom Teachers Pay Teachers store. A version of them is also included in all of our 60+ classroom themes.
2. Print the Set of Clock Labels on Card Stock
Print the clock labels set on card stock, so that they are durable and less likely to bend. This is a tool you will want to pull out year after year.
3. Cut the Labels Out
Use scissors to cut the labels out. I recommend cutting around the outside of the outer black line.
4. Laminate the Labels
Laminating the labels will help improve durability, so you can continue to use the labels year after year.
5. Mount the Labels on Colorful or Themed Paper
Create a customized look by mounting the labels on colorful or themed paper so it matches your classroom theme or classroom color scheme to create a cohesive learning environment.
6. Stick them Around Your Classroom Analog Clock
Adhere the labels to the area around your classroom clock by taping or hot gluing them.
7. Introduce Them
Do a mini-lesson during your daily guided math workshop on how to use them and give students opportunities to practice using them.
8. Reference Them Throughout the School Year
Reference the clock labels often, especially when teaching a unit on time.
In closing, we hope you found these clock labels for classroom use helpful! If you did, then you may also be interested in these posts:
- How to Set Up Your Whole Group Instruction Area
- How to Create a Numeracy Rich Environment
- Visual Classroom Schedule Ideas for Elementary Teachers
