This Me on the Map resource is my #2 all-time best seller. These Me on the Map activities are hugely popular among elementary teachers in 1st, 2nd, 3rd, 4th and 5th! It is a great way to help kids conceptualize geography. It’s also the perfect way to kick off a Holidays Around the World unit.
Some teachers have to teach map skills as part of their curriculum. However, even if you aren’t officially responsible for teaching map skills at your grade level, it is still important and extremely beneficial to make time for lessons involving direct instruction related to this concept. Doing so will not only provide general geography knowledge, but will help in other key areas of learning. Learn all about why it’s important to teach map skills and how to do it using Me on the Map activities below!

Why It’s Important for Teachers to Teach Map Skills
Below are four reasons why it’s so important to teach map skills.
1. Improves Reading Comprehension
Work with maps and focusing on the concept of our place in the world will help students to increase their comprehension and make better connections to both fiction and non-fiction texts that reference different geographical locations.
2. Strengthens Spatial Thinking
Spatial thinking is one of the most important skills that students can develop as they learn geography and it is also linked to success in math and science.


3. Boosts Visual Literacy
The skills needed to read and interpret maps are a part of visual literacy, which is a set of skills and habits of mind necessary to “read” images. Further, visual literacy means not just decoding an image but comprehending it — grasping the image’s intended meaning, evaluating it, and incorporating it into other knowledge.
4. Builds Schema
Additionally, almost all social studies topics require an understanding of where historical events took place.

What Map Skills Elementary Students Need
All of those skills require both analysis and interpretation of maps. This means map skill lessons need to go beyond just teaching map conventions. Map conventions refer to things like latitude and longitude, scale, how to use a key, map symbols, and how to locate cities and countries. These lower-order practices are important to know, but the true benefits come from using maps to help students visualize scale and the relationships of different geographic locations to one another.


3 Ways to Teach Map Skills
Below are 3 fun ways to teach map skills to your elementary students.
1. Read Alouds
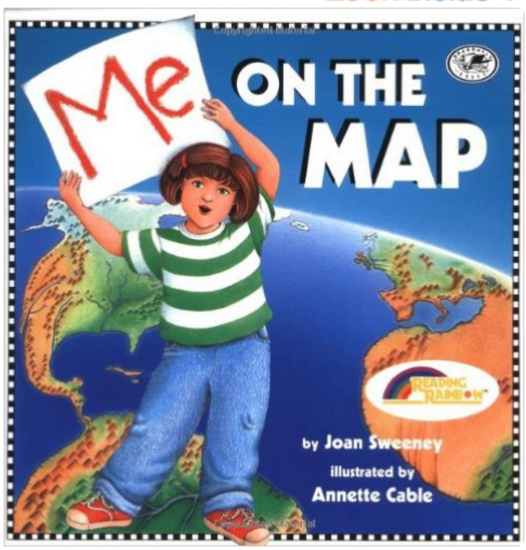
My favorite tool for teaching almost anything is read alouds. There are a lot of great read aloud books focused on the topic, but the one I feel is best for really helping children in grades K-5 to understand how various places relate to one another and to strengthen their visual and spatial skills is Me on the Map by Joan Sweeney. Learn more how I use this book to teach map skills below!
2. Class Discussions
Class discussions are a great opportunity to explore what students already know about geography and gives students the space to learn from one another. This ties in nicely with doing a whole group read aloud.


3. Hands On Learning Experiences
Hands on learning opportunities like these Me on the Map projects are a great way for students to build a conceptual understanding of map skills. They also provide fun and engaging learning experiences that students will remember.
How to Implement Me on the Map Activities
Below are directions for how to implement the Me on the Map resource in your classroom.
1. Purchase or Borrow a Copy of the Book, Me on the Map
If you do not want to purchase this book or borrow it from the library, I have found there are also versions you can stream. The image and the affiliate link below will take you to Amazon where you can view more details and order the book.
There are a lot of great books focused on the topic, but the one I feel is best for really helping children in grades K-5 to understand how various places relate to one another and to strengthen their visual and spatial skills is Me on the Map by Joan Sweeney.
Upon first looking at it, it definitely presents as a book that would be used for younger learners. However, when you are looking at it as a book for teaching those skills of where you relate in terms of global aspect it takes things down to a simple level and is very much appropriate for grades K-5.
I’ve created a collection of hands-on projects that help to bring home the concept for them. It has been used by thousands of teachers at the elementary level and has received great feedback. It’s a great collection of projects that will help educators to talk about maps, explain what they are, and creates a hands-on, visual way for students to understand the concept. Learn more about these Me on the Map projects!
2. Download the Me on the Map Activities
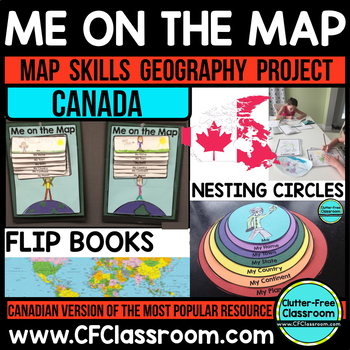
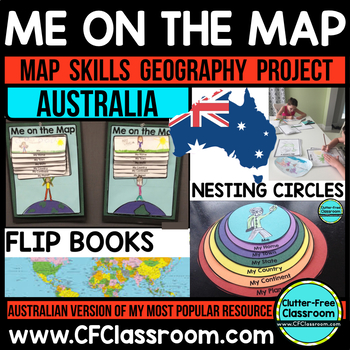
These Me on the Map printable and digital activities are available in my Teachers Pay Teachers store. In addition to the original version, there are versions for Canadian and Australian teachers.
What’s Included in the Me on the Map Activities
The Me on Map resource includes the following components:
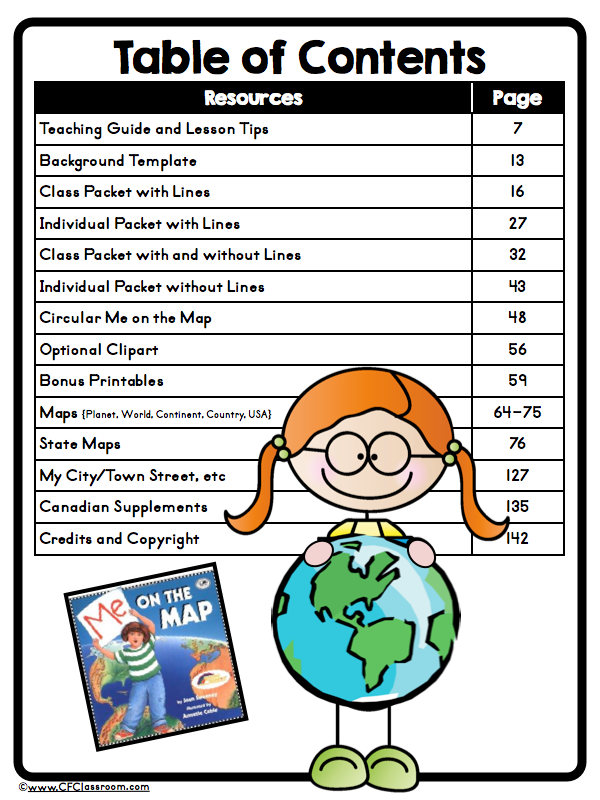 | 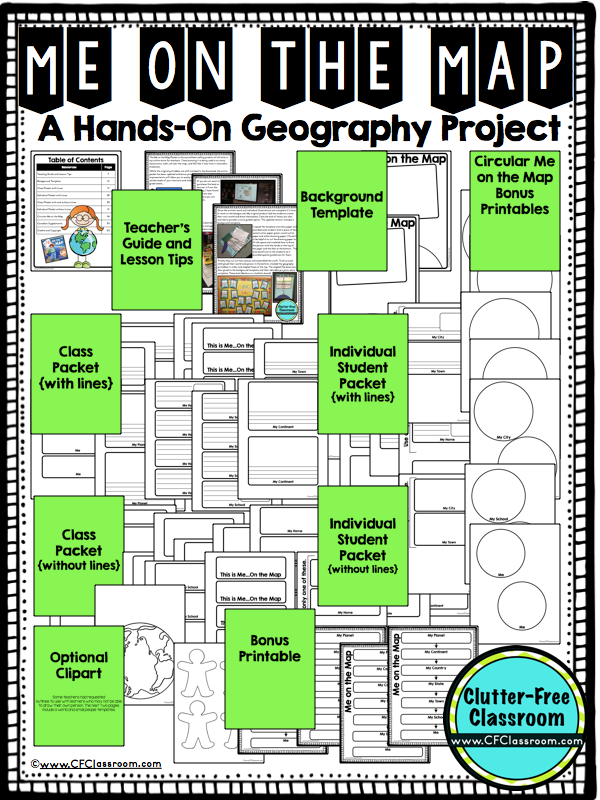 |  |
Teaching Guide
The guide has tips and instructions to support you with your lesson planning and delivery.
Background Templates
Students glue or staple their flip book onto it in order to help create a polished, finished look.
Geography Printables Flipbook
It comes with options with and without lines so you can select which one works best for your group of students.
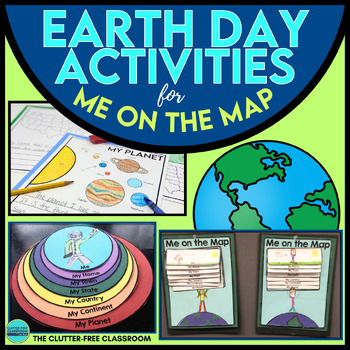
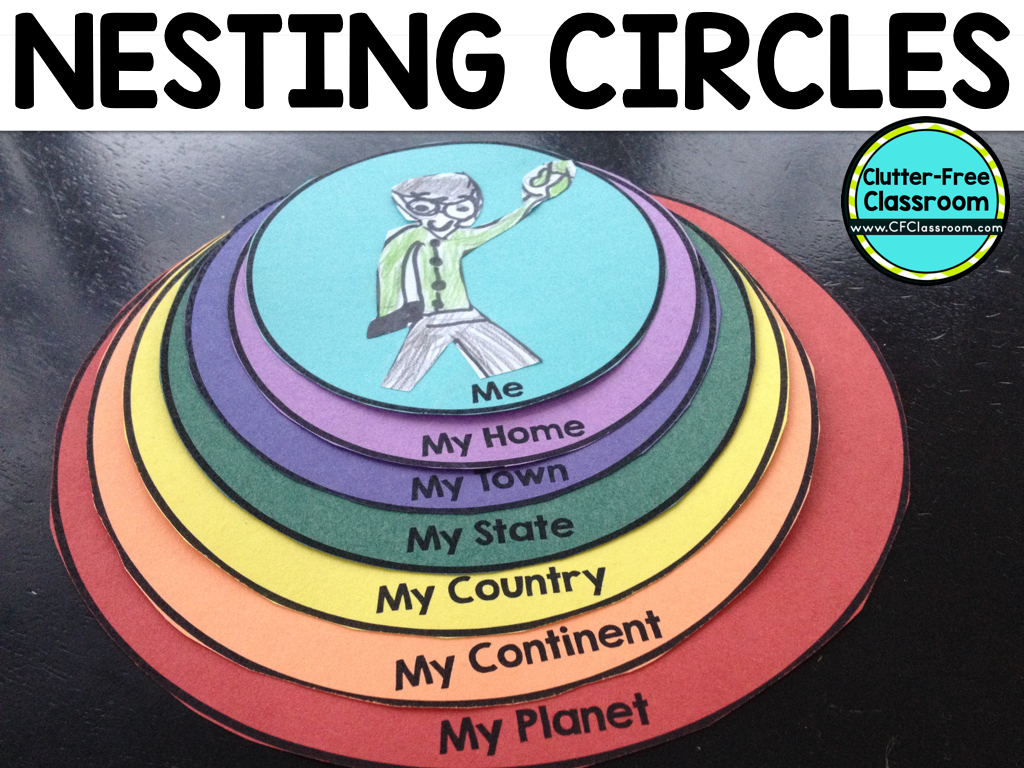
Me on the Map Circular Nesting Circles
This serves as an alternative to the rectangular flip book option.
Optional Globe and Person Clipart for the Flipbook
This was included for younger students and for those who have trouble drawing or don’t enjoy it to color, cut out, and glue onto the finished product.
Graphic Organizers
These graphic organizers help students organize their thinking and notes.
Student Booklet
This option allows students to create a published book with a cover to show their learning.
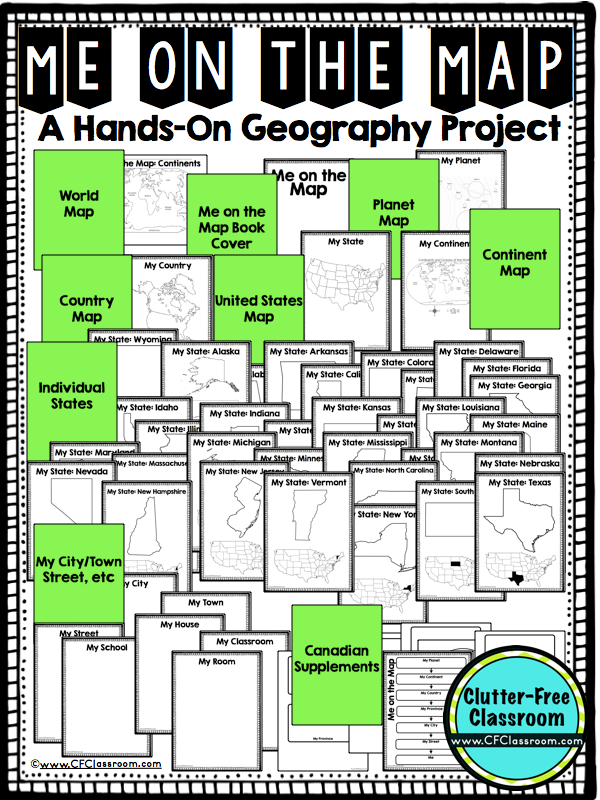
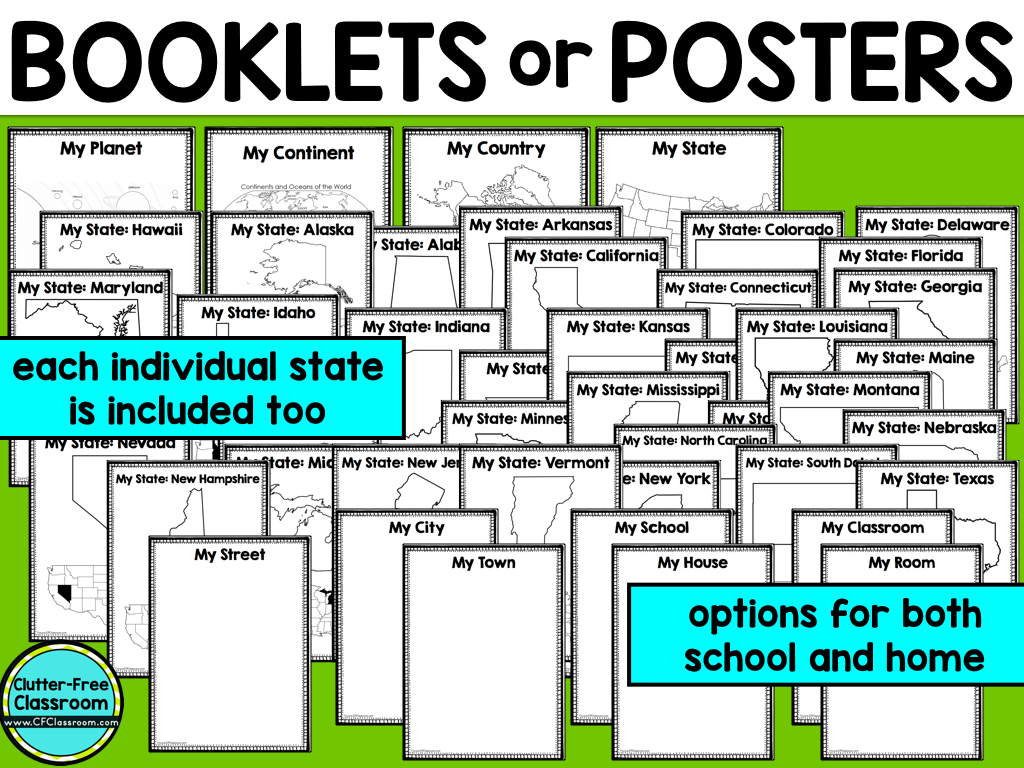
Maps
Included are maps for All 50 States in North America, the United States, North America, and the world.
I included booklets or posters that can be used if you really want a simple, no-prep, no cutting options. I’ve added all of the states so the students can see where the state is in relation to the other 49.
Digital Version
There is a digital version included so your students can access this resource in school or at home.
3. Select Printables from the Activity Packet and Print Them
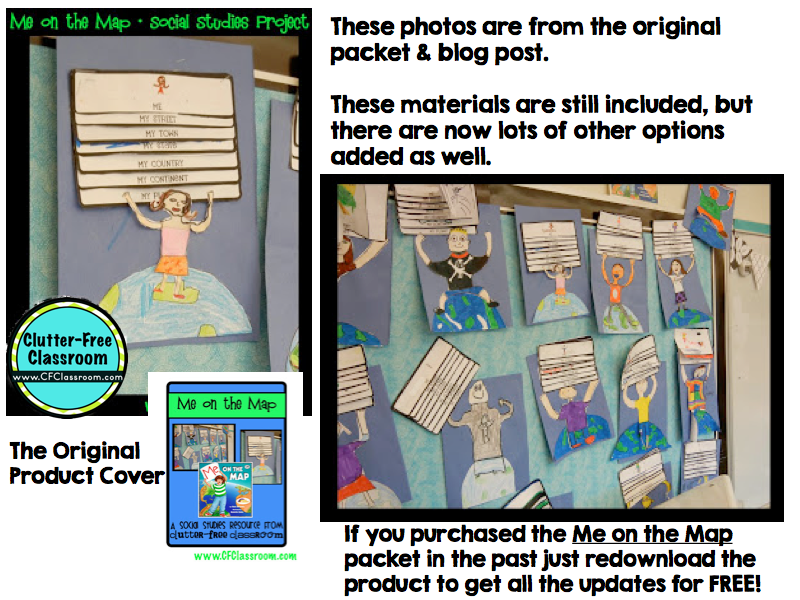
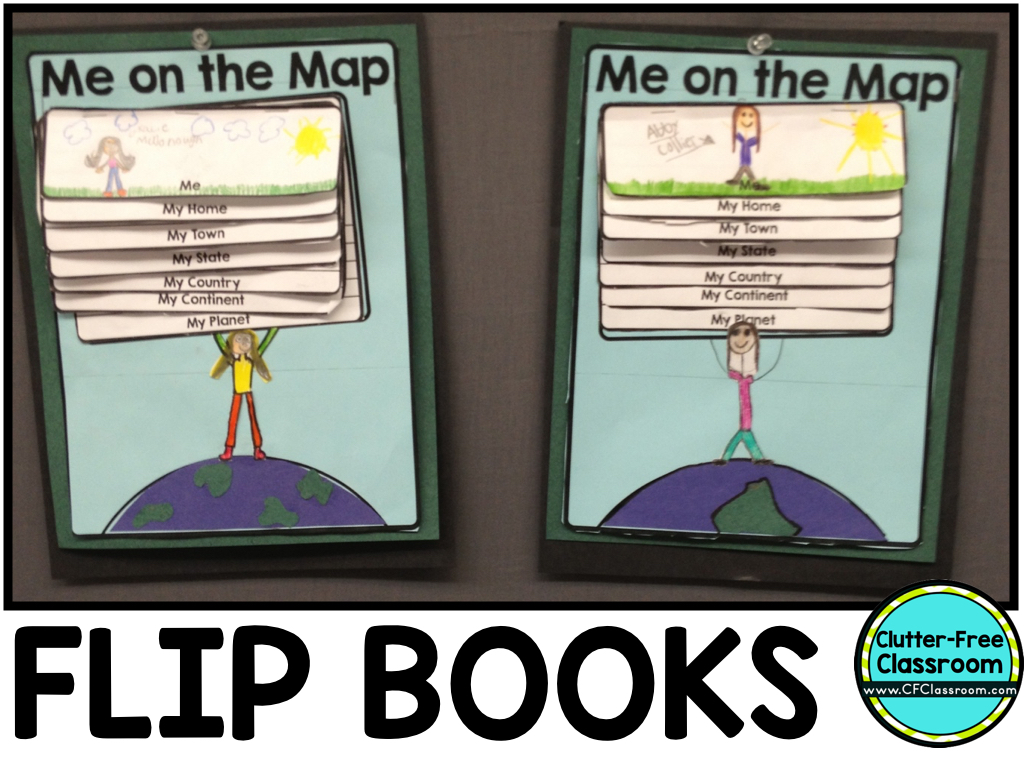
The Me on the Map resource contains three projects to choose from. My favorite is the flip book. The students can write about and/or illustrate the different places they live starting with their home or school. The different-sized papers are then stacked on top of one another to represent the students’ city/town, state, country, continent, and planet. They can then illustrate a picture of themselves standing on the world using the included templates for easy prep.


4. Make a Packet for Each Student
I have found the best way to manage this project is to provide the children with their own set of each piece stapled together as a packet. It is much more neat & organized to have them complete the writing and drawing in a stapled packet format and then cut the pieces to assemble the craft.
5. Read Aloud the Book, Me on the Map
Read aloud Joan Sweeney’s book Me on the Map to your class. Pause throughout the book and highlight important information and check for understanding with comprehension questions.
6. Distribute the Packets
Next, I distributed the copy of the student printables.


7. Complete the Activities
Depending on your students’ ability levels you can either have them work on these independently, in a small group or as a whole class. The project can be completed in one session or you may prefer to spread it out over several days and really focus on each of the components (planet, country, state, etc).
Once the written work and individual illustrations are complete it’s time to work on the background. My original product had the students create their own world and draw themselves. I love the look of those, but also wanted to provide a more guided option. The updated version includes a background template.
I copied the template onto blue paper and provided each student with a piece of blue construction paper, green construction paper and white drawing paper. I found it to be helpful to cut the drawing paper to fit the space and modeled how to draw the person with the hands at the top of the paper and the feet at the bottom. This was beneficial to the students as it provided spatial guidelines for them.
Finally, they cut out their pieces and assembled the craft. To do so each child glued their world and person to the bottom, stacked the geography printables in order and stapled those at the top. The stapled flip book was then glued to the background template and their adorable projects were complete. These look fabulous on a bulletin board!

8. Post the Finished Products
Once completed, the projects make a beautiful display. I typically completed these activities early in the year because it helped the children to make better connections to later topics. I always teach an in-depth unit on the Pilgrims and Wampanoags leading up to Thanksgiving and their increased schema made it easy to understand where England, the Atlantic Ocean and the area that is now Northeast America are located in relation to one another.

In closing, I hope you found these Me on the Map activities helpful! If you did, then you may also be interested in these posts:
- Holidays Around the World Ideas for Elementary Teachers
- Animal Research Project Ideas for Teachers in Grades 1-5
- Back to School Read Alouds for Elementary Teachers