Elementary teachers have two types of resources: district-issued curriculum and books and materials that have been self-purchased. While you have more flexibility in how you organize and handle the latter, there are ways to make both functional and easy to access. Read below to learn how to purge unnecessary resource materials and develop an organized way to store the curriculum materials and teacher resources you are going to keep. This post makes organizing teaching materials feel a lot more manageable!
How to Organize Teacher Resources
Below are tips for organizing teacher resources and materials in your elementary classroom.
Resources Issued by Your School District
The resources that your district provides typically need to be preserved in their original condition in the event that you change grade levels or switch schools. Below are tips for organizing teaching materials in this category of resources.
1. Create a separate space for resources you don’t use but must keep.
You may have a reading curriculum that comes with ESL components and you have no ESL students. Perhaps your math guides don’t all align with the Common Core and you are using supplemental materials, but the school has not said to recycle the old ones. We all have stuff that we are housing simply because we need to.
Don’t let it be clutter, but instead package it up neatly and out of sight. That way, if you leave your position and need to leave the resources behind they will be gathered already. I find a great way to do this is to place them in a copy paper box and attach an inventory of what is inside onto the box. That way you can leave the entire box behind or turn it in if that is what you need to do. In my situation, I have a deep shelf and simply store them in the back with items I use regularly placed in front of the box.
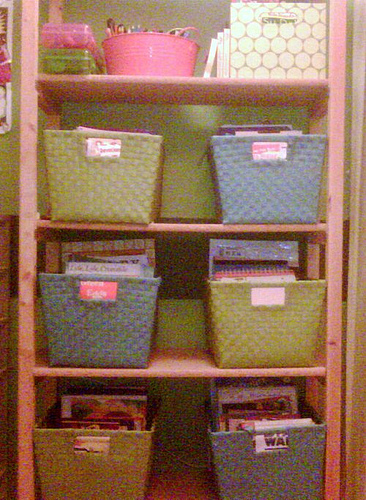
2. Store teacher materials out of sight.
I prefer to house my teacher guides, manuals, resource books, etc. out of student view. This helps reduce visual clutter. Since the books are not something the students need to access, I keep them out of sight.
I use the small group table as my teacher workspace. There is open shelving behind it so I keep my books in decorative boxes without tops grouped by subject area. These function almost as drawers. The students can’t see what is inside and I can access them easily when I am sitting there planning.
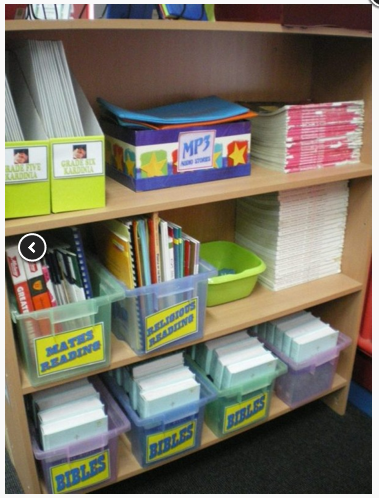 |  |  |
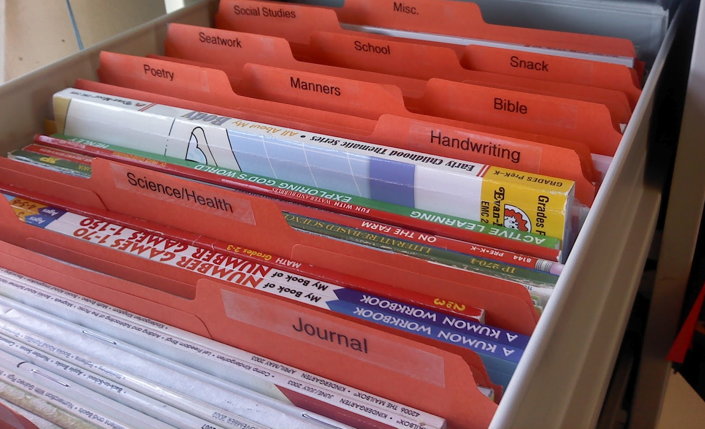
3. Keep subject areas together.
If you use a teacher desk, you may want to store them in the drawers. You could also use the drawers of a filing cabinet. Regardless of if you use a drawer of a shelf, it is important to keep subject areas together. Dishpans can be purchased at the Dollar Store and work great on shelves to cluster books together. If you use a drawer, create tabbed sections using file folders.
Add in related items like pacing guides, curriculum maps, a binder or CD of printables to the related section or bin.
4. Go digital when possible.
Many teacher guides are available online. Ask your curriculum coordinator if this is an option. Even if you’ve had the books for several years you may be able to use their online manuals by obtaining the code.
5. Collaborate with colleagues.
Take a tour of your building. Most schools have classrooms with similar furniture, built-ins, closets and shelving. See how other teachers are housing their books. Ask if they are happy with their systems. Use their methods as inspiration.

Teacher Resources You Purchase
Below are 3 tips for organizing your teaching materials that you have purchased.
1. Declutter your collection of resources.
Go through your personal resource collection with a critical eye. Tear out pages you want to keep and put them in a binder.
2. Go digital.
Scan resources and go paperless. Then pass the book onto a colleague or recycle it.
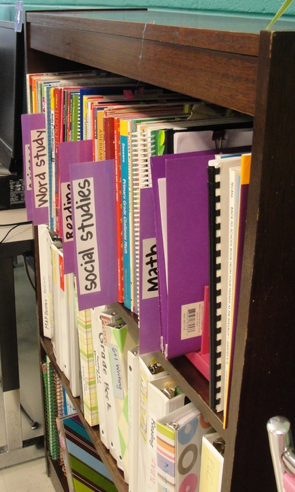
3. Use dividers.
If you use a traditional bookshelf, be sure to add dividers that make it easy to see where things are. You might also want to label the front of the shelf as well.
 |  |
How to Keep Track of Borrowed and Lent Items
When creating a clutter-free learning environment, we need to purge, sell and donate anything and everything that is not essential to teaching our students. Borrowing from others is a great way to minimize clutter, to save money, and to provide students with a variety of resources. However, in order to establish a good reputation as a borrower and to be sure that you don’t lose track of your own valuable items that you lend to others, it’s important to develop an organized system for managing borrowed/lent materials. Read below to get tips for managing and organizing the teaching materials you borrow and lend out!
5 Tips for Managing Lent and Borrowed Teacher Resources
Below are 5 simple tips for managing and organizing the teaching materials that you lend out and borrow.
- Create one specific place to list and track borrowed items. I recommend designated pages in an all-purpose teacher binder. This helps keep everything you reference and need in one place.
- Whenever you borrow or lend something, be sure to immediately record it. Don’t let it take up any space in your brain. As soon as you borrow or lend something right it down in a designated space so you don’t forget.
- Log in items when they are returned. Similar to writing it down when you borrow or lend something, you’ll want to note when it is returned. This will help you stay on top of things without a lot of mental effort.
- Keep a running list of book titles that you borrow from the library. I like to keep two different lists. One of my school library and one for the public library. As an alternative, you could put a sheet protector into your binder and use it to slide in printed out lists from the library’s system.
- Return items promptly. As soon as you are done using a resource, return it to the owner of it. This will make it so you have less items to manage and your lender will greatly appreciate it.
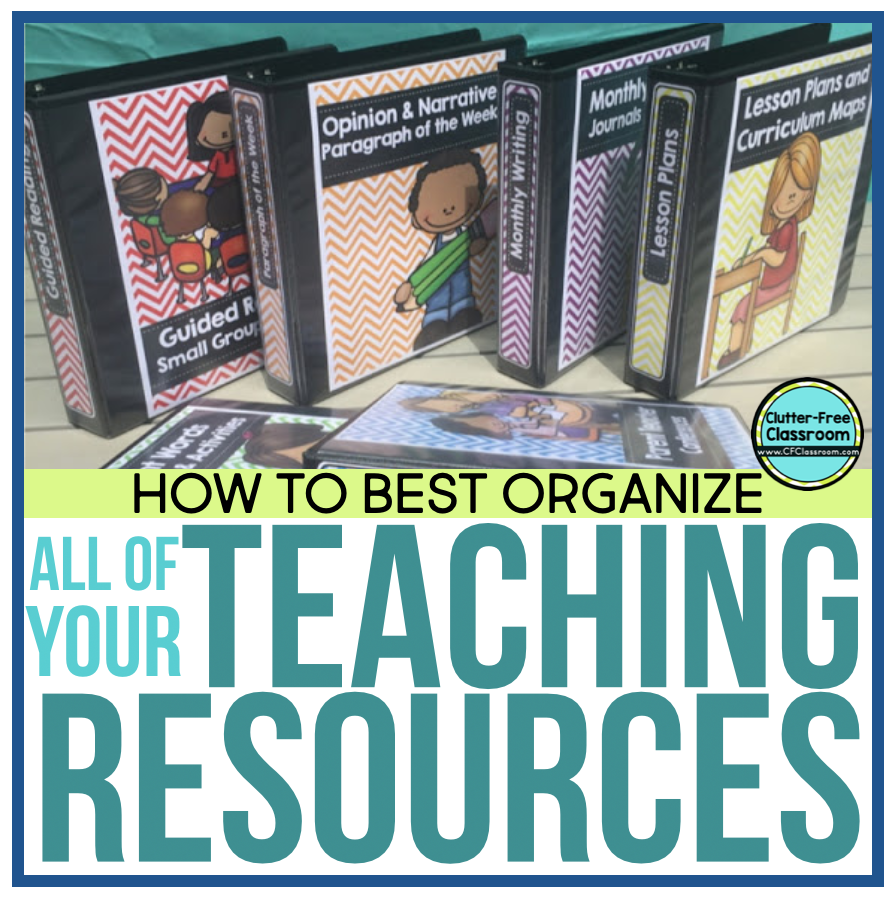
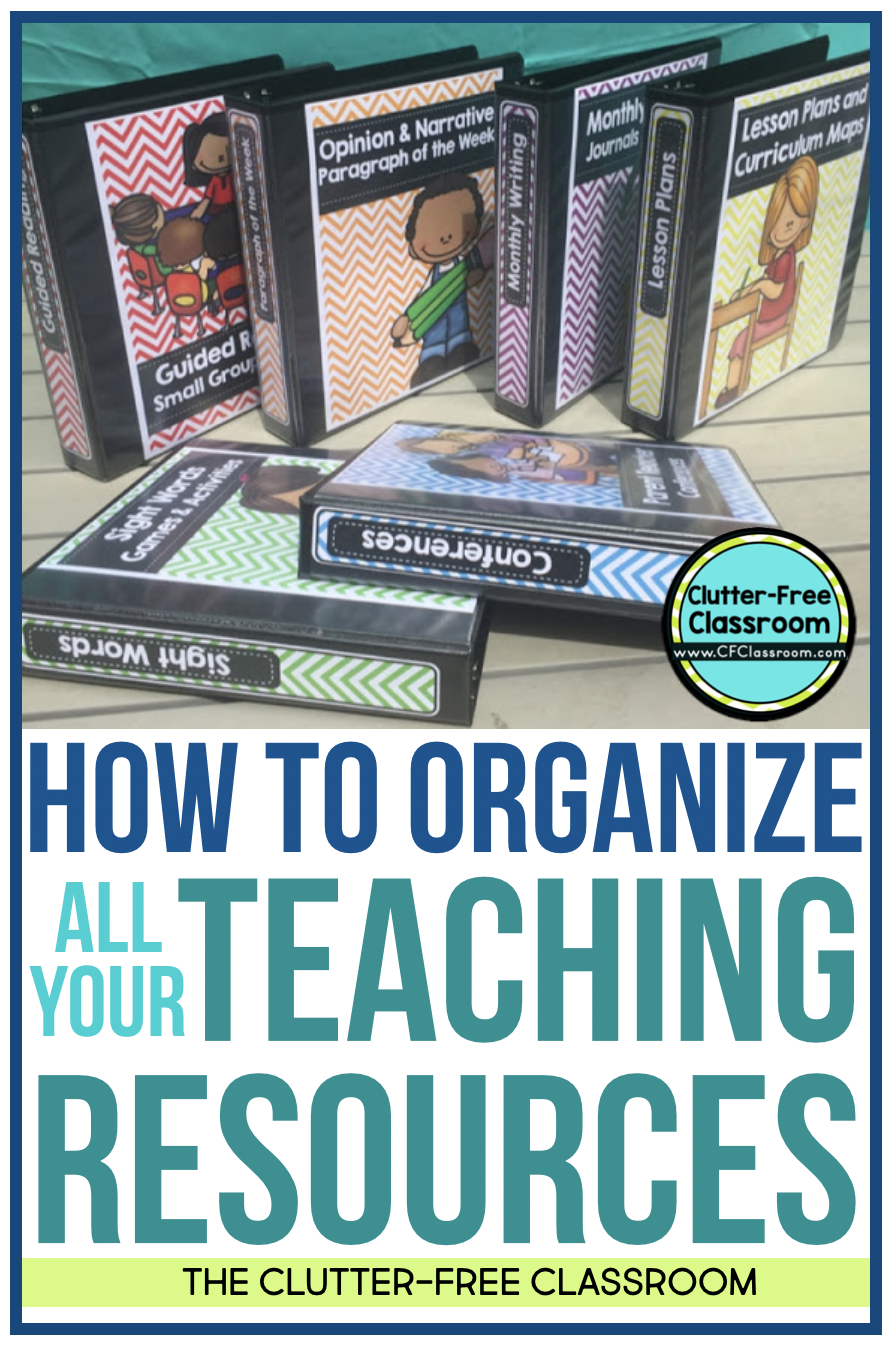
How to Use Binders to Organize Teaching Resources
There are SO many teaching resources we need at our fingertips as classroom teachers. Do you have one place where all of your teaching resources and worksheets are organized? Can you easily bring it home and to planning meetings when you need to? If not, you must consider using binders to organizing your teaching materials!
It’s true: a great, but simple tool for classroom organization and management is a 3-ring binder. They are perfect for organizing your teaching units and lesson plans as well as for creating student portfolios, collecting documents for your Teacher Evidence Binder, housing meeting notes, and about a million other things.
One thing that drove me crazy about binders was removing the binder inserts (especially after the binders sit in a hot classroom all summer and the plastic starts to adhere). Often times, they would rip and part of the spine insert would forever live in the bottom of that pouch. It was the worst!
I don’t know why it took me so long to think of this… TWEEZERS! Over the years, I have blogged about some tools that I find to be essential for the classroom. I will now add tweezers to that list. The next time you are out shopping I suggest you snag a pair to leave in your desk drawer. I’m sure you’ll find them to be handy.
Must-Haves for Your Teaching Binders
Teachers have so many things to manage. One way to be successful at being organized in the classroom is to be proactive in setting up a system for managing paperwork. A simple way to manage all important documents and paperwork that need to be easily accessible is a binder or folder system.
Binders are ideal because they offer the flexibility to move papers around as well as adding and removing them as needed. They are durable. You can add addition pockets for sorting, holding pens and other tools and best of all you can customize them by inserting your own cover and spine.
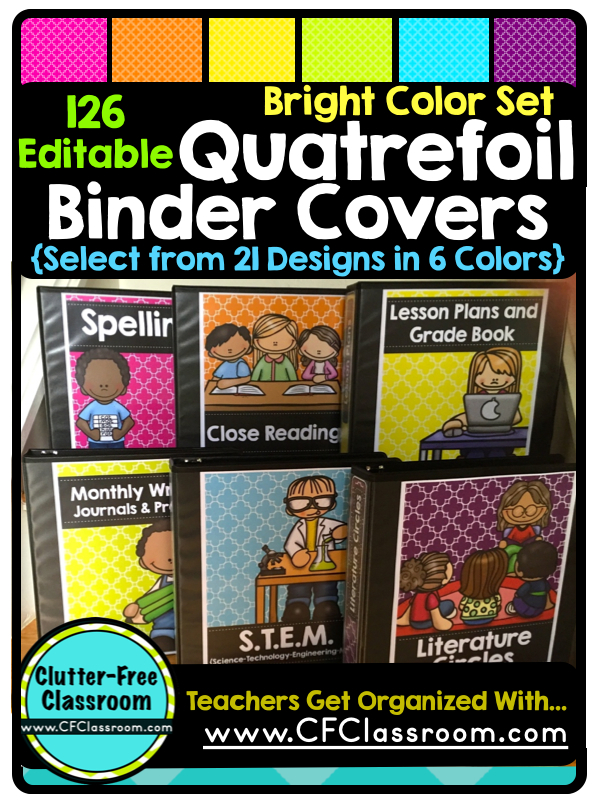
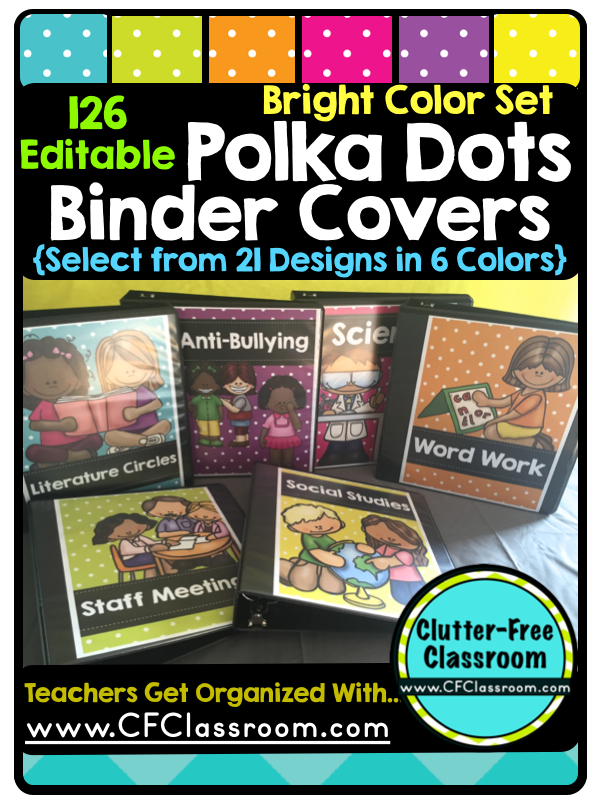
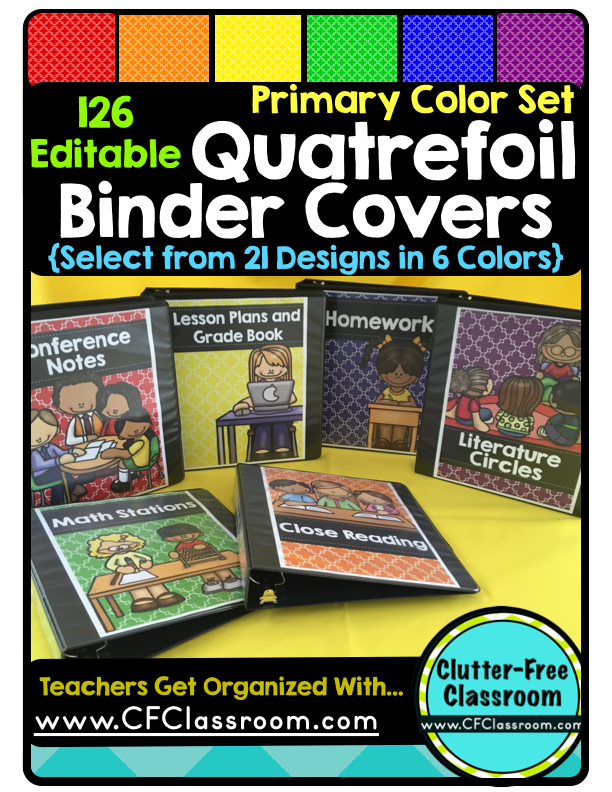
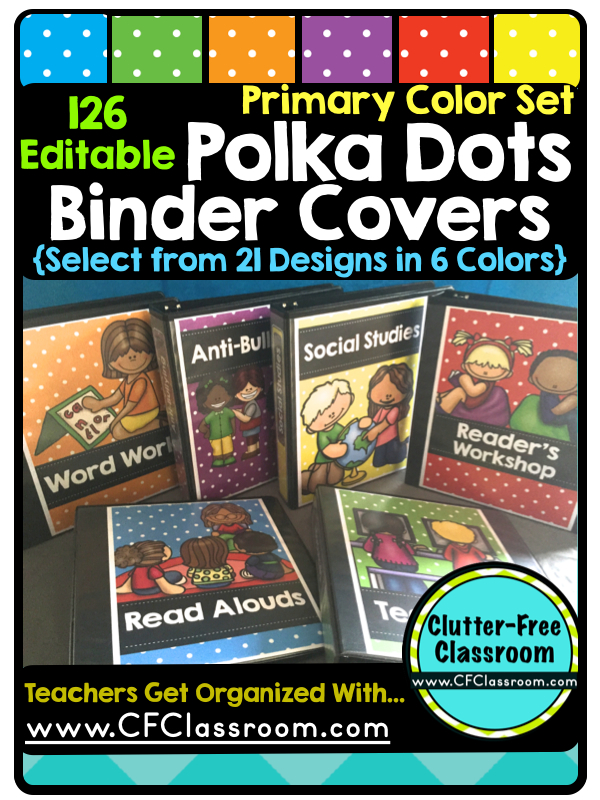
1. Binder Covers
Binder covers allow you to quickly identify which binder you are looking for by flipping through them in your basket.
- Bright Polka-Dotted Binder Covers
- Primary Polka-Dotted Binder Covers
- Bright Chevron Binder Covers
- Primary Chevron Binder Covers
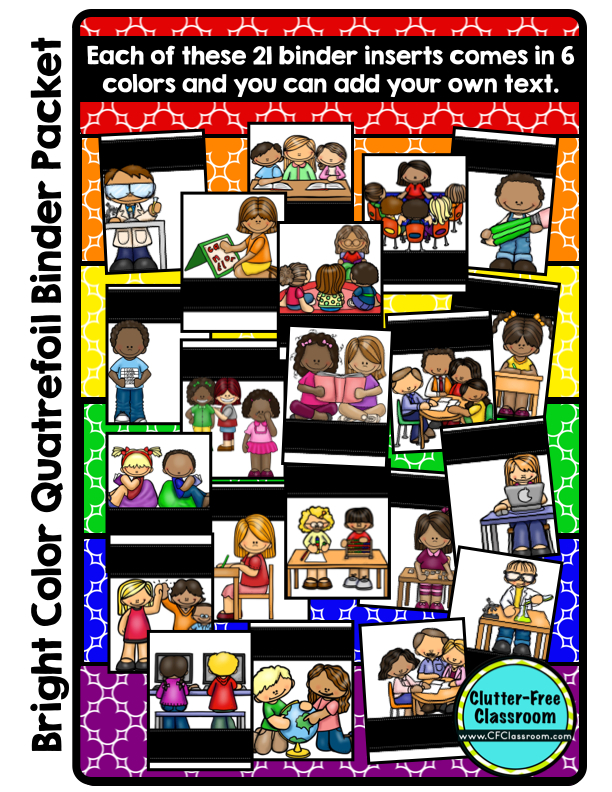
- Bright Quatrefoil Binder Covers
- Primary Quatrefoil Binder Covers
 | |  |
| | |
 | |  |
| | |
2. Binder Spine Labels
Another binder must-have is a spine label. Binder spine labels are a great way to quickly find which binder you need on your bookshelf. My teacher binder resources include tons of spine labels to choose from. Plus, they are editable. This makes it so you can customize them to fit your needs. Check out the different options below:
- Bright Polka-Dotted Binder Spine Labels
- Primary Polka-Dotted Binder Spine Labels
- Bright Chevron Binder Spine Labels
- Primary Chevron Binder Spine Labels
- Bright Quatrefoil Binder Spine Labels
- Primary Quatrefoil Binder Spine Labels
 | |
| |
3. Dividers
Binder dividers are a great organization tool for maintaining an organized binder that you can easily navigate. You’ll be able to flip through your binder quickly to find exactly what you need. They are a big time saver!
In closing, we hope these tips for organizing teaching materials in your classroom was helpful! If you did, then you may also be interested in these posts:
- Classroom Paper Organization Ideas for Elementary Teachers
- Why It’s Important for You to Have an Organized Classroom
- 20 Back to School Read Alouds for Elementary Teachers